Father's Day Race Track Craft (Step-by-step Tutorial)
Posted on Jun 18, 2020
With just a few simple supplies, kids can show the man in their life how much they love him by crafting together, engaging and having fun.
Bonus: this craft turns into a really fun race track toy that will ensure hours of fun for young and old!
>> Watch the video tutorial or follow the easy steps below:
* Tutorial presented by Lili Esterhuizen

With just a few simple supplies, kids can show dad and/ or grandad how much they love him by crafting together, engaging and having fun.

Recommended for ages 4 and up.
This craft is loaded with fun and important Superskills:
- Fine Motor Skills
- Imagination
- Problem Solving
WHAT YOU'LL NEED (Be creative and use what you have at home)
- Recycled piece of cardboard (delivery box, puzzle box or cereal box)
- Wool/ yarn or rope
- Scissors
- Masking tape or duct tape
- Paper plate or paper
- Black marker, pencil or pen
- Thick paper or thin cardboard
- Coloring pencils, Sharpies or Crayons
- Key rings
- Corks or bottle caps
- Strong magnet
- Decorations: toilet roll, scraps of paper, glue
- Paint supplies: Brush & water in a jug, water color paint
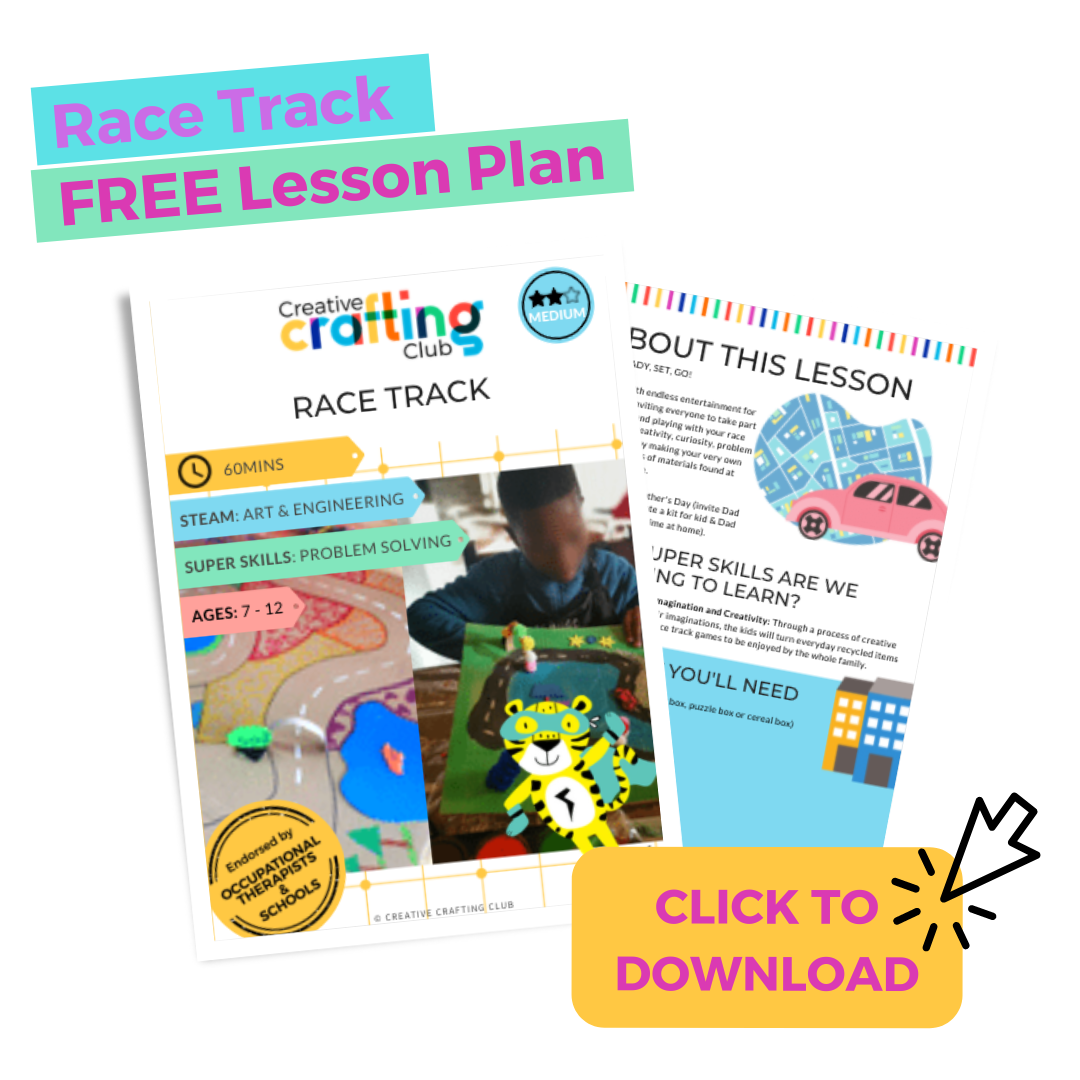
Click this image to download the lesson plan or follow the step-by-step instructions below.
Ready, Set, Go!
Step 1: You can use a large or small piece of cardboard, it is up to you. Use a piece of wool to map out your race track.

Step 2: Stick it down with tape or putty. Masking tape works well as it will remove easily when you need to peel it off again.

Step 3: Use a black marker, pen or Sharpie to outline the track on either side of the string.

Step 4: Remove the wool & tape. Cut out a few 'lakes' using blue paper or foam sheets and stick them down.

Step 5: Add lines to divide your board into different segments/plots behind the track.

Step 6: Divide a paper plate or piece of paper into 4.
Step 7: Mark each ¼ as follows:
1. Houses
2. Skyscrapers
3. Plantations
4. Free (this means you are free to draw anything that you like)

Step 8: Take turns to spin the marker & draw something from the ¼ that the lid lands on e.g. house or plantation. If it lands on ‘free’, draw anything you want (your family, pet, insects etc). Be creative!


Step 9: Use pastel or wax crayons and start decorating your board

Step 10: Use watercolor paint to color the remainder of your board. See how the crayons resist the paint (oil & water don’t mix!)
Tip: don't paint the track as a smooth and clean track will have less friction and allow your cars to drive faster

Step 10: Draw and color 2 cars on pieces of thick white paper. Slightly bigger than your key ring

Step 11: Cut them out

Step 12: Use tape to attach a key ring to the back of each car.

Step 13: Use a glue gun (adults to assist) or tape to stick a magnet to the end of a cork or bottle cap. Make sure the magnet is the right way around to attract the key ring.

Step 14: Add bridges or tunnels. Cut a toilet roll into 3 pieces. Cut a slit in each piece. Use craft glue or tape to stick the pieces of toilet roll over the track to form bridges.
Tip: Test that your car fits through your tunnel before gluing or sticking it in place.

Step 15: Add more detail using wool/ yarn, tiny pom poms, color paper etc. View the video for more inspiration.

Step 16: Place the magnet behind the board and the car on top of the board, time to race your cars around the track! Time a lap or see if you can catch each other.
P.S. Remember to allow Dad to flaunt his competitive side by letting him win a few times! ;-)
Here are a couple of photos of our Creative Crafting Club members hosting Father's Day workshops! Such a lovely way to create wonderful memories!


We'd love to see how your project turned out, please comment below!
Want more lesson plans?
We have loads of step-by-step lesson plans just like this one inside our CCC curriculum.
When you become a CCC Academy member you get 50% off our curriculum!
Click the image below to receive a free info pack and learn more about becoming a member.